Why Checking Your Oil is Crucial
Engine oil is the lifeblood of your vehicle. It lubricates moving parts, reduces friction, prevents overheating, and keeps the engine clean by capturing dirt and debris. Running low on oil or driving with extensively degraded oil can lead to catastrophic engine failure.
Step-by-Step Guide: How to Check Your Oil
1. Park on Level Ground
Ensure your vehicle is parked on a flat, even surface. If the car is on a slope, the oil in the pan will pool to one side, giving you an inaccurate reading on the dipstick.
2. Wait for the Engine to Cool (Slightly)
Checking the oil while the engine is blistering hot isn't just dangerous; it can result in a false high reading. Turn the engine off and wait about 5 to 10 minutes to allow the oil to settle back into the oil pan.
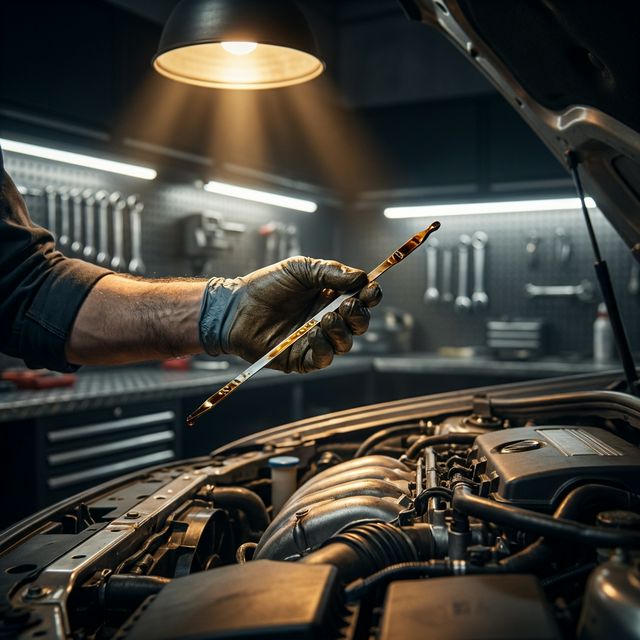
3. Locate and Remove the Dipstick
Pop your hood and look for the engine oil dipstick. It typically has a bright yellow or orange plastic ring or handle. Pull it out completely. Have a clean rag or paper towel ready to wipe it clean immediately.
4. Reinsert and Check the Level
Push the clean dipstick all the way back into its tube until it's fully seated. Then, pull it out again and look closely at the tip. You will see two markings: a 'Minimum' (or 'Low') and a 'Maximum' (or 'Full') indicator. The oil film should sit comfortably between these two marks.
Understanding Oil Colors and Consistency
- Amber & Translucent: Fresh, healthy oil. This means your engine is properly lubricated.
- Dark Brown / Black: Oil darkens over time as it collects impurities. If it’s dark but still somewhat translucent, it’s generally fine. If it's thick, gritty, and completely black, it’s overdue for an oil change.
- Milky / Frothy: This is a massive red flag. Milky oil indicates coolant is leaking into the engine, likely due to a blown head gasket. Do not drive the car; call a mechanic immediately.